Car audio subwoofer installation instructions

Search: Search
Toggle Menu
Search: Search
Installing a subwoofer in your car can dramatically improve the quality of your audio system, delivering deep bass that enhances the overall listening experience.
Whether you’re a seasoned audiophile or a DIY beginner, this guide will walk you through the process, from choosing the right equipment to the final installation steps.
Planning Your Subwoofer Installation
Planning a subwoofer installation in your vehicle is a critical step that ensures the enhancement of your audio system goes smoothly and results in the best possible sound.
This process involves several key considerations, from choosing the right equipment to understanding the acoustics of your vehicle. Let’s dive into what goes into planning a subwoofer installation.
Tips for Better Sound
- Positioning: Experiment with the subwoofer’s position in the trunk to find the best sound. Sometimes, facing the subwoofer towards the back or sides of the car can enhance bass response.
- Cabling: Use high-quality cables for connections to reduce signal loss and interference.
- Isolation: Consider adding sound-damping materials to the trunk to reduce rattles and improve sound quality.
Subwoofer Installation Safety Tips
- Always disconnect the battery before starting the installation.
- Wear protective gloves when handling sharp objects or when drilling into the car’s body.
- Ensure all wires are securely insulated and routed away from moving parts or heat sources.
Protecting Your Subwoofer
- Install a grill over your subwoofer to protect it from damage.
- Regularly check the mounting and wiring for any signs of wear or loosening.
Step 1: Choosing a Mounting Location
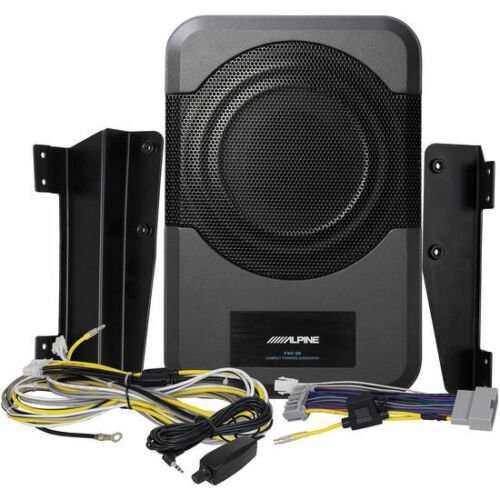
- Under the Seat: Ideal for smaller vehicles, placing the subwoofer under a seat can save space and still deliver a significant bass impact. Ensure there’s enough clearance for ventilation.
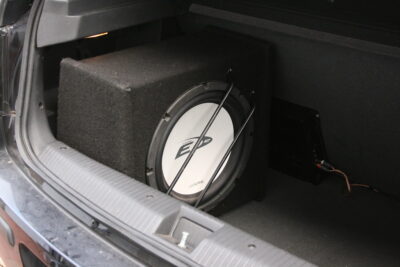
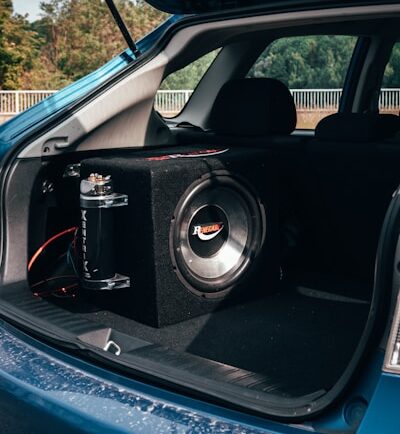
- In the Trunk: For larger powered subwoofers, the trunk remains a popular choice. It offers more space and can accommodate bigger units for deeper bass.
- Rear Cargo Area: In SUVs or hatchbacks, the rear cargo area can be a good compromise, offering space without sacrificing all of your cargo room.
Differences from Standard Setups
Unlike traditional setups where you might mount the amplifier on the car’s body and the subwoofer in a box, a powered subwoofer combines these components, requiring only one mounting spot. This simplifies the process and is less invasive for your vehicle’s interior.
Step 2: Wiring the Powered Subwoofer
- Disconnect the Battery: Always start by disconnecting the negative terminal of your battery to prevent any electrical issues.
- Power Cable: Run a power cable from the positive terminal of your battery to the location of your powered subwoofer. Include an inline fuse near the battery for safety.
- Ground Cable: Secure a ground cable from the subwoofer to a clean, bare metal point on your vehicle’s chassis.
- Signal Wires: Connect the audio signal cables. If your car stereo has preamp outputs, use RCA cables. Otherwise, you may need a speaker-level input adapter to connect the subwoofer directly to your car’s existing speaker wires.
- Remote Turn-On Wire: This wire activates the subwoofer when the car stereo is turned on. Connect it to the stereo’s remote turn-on lead or use a fuse tap to connect it to a fuse that powers on with the ignition.
Step 3: Finalizing the Installation
- Secure the Subwoofer: Ensure the powered subwoofer is firmly mounted in its location. Use brackets or Velcro strips if you’re placing it under a seat to prevent movement.
- Reconnect the Battery: Once all connections are secure and checked, reconnect the negative terminal of your battery.
- Adjusting Settings: Turn on your car stereo and adjust the subwoofer settings according to your preferences. Start with the gain or volume low and gradually increase it to avoid distortion.
- Tuning: Play around with crossover frequencies to ensure your subwoofer handles only low frequencies, and adjust the phase and gain settings to blend the bass smoothly with your car’s existing speakers.
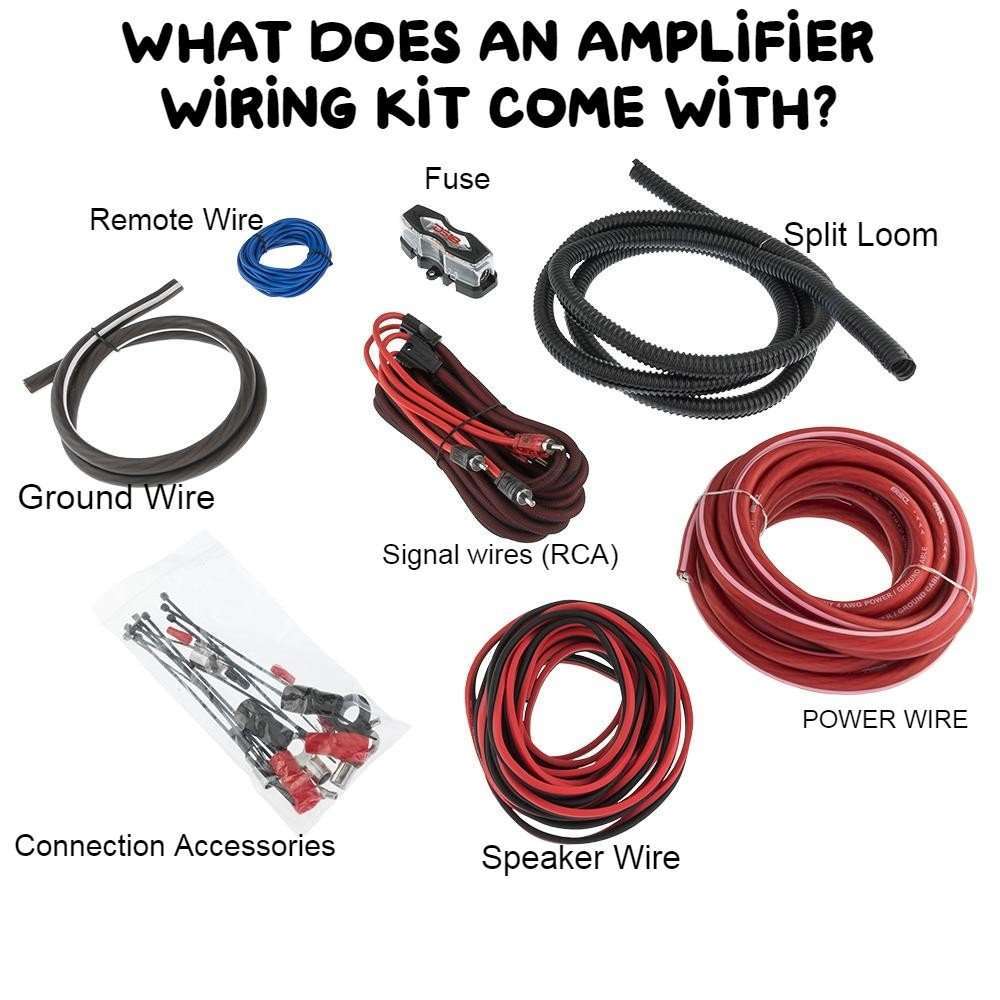
Wiring Kit Components
| Component | Description |
|---|
| Power cable | Connects the amplifier to the car’s battery for power. |
| Ground cable | Provides a ground connection for the amplifier. |
| Audio signal cables (RCA) | Carry the audio signal from the car stereo to the amplifier. |
| Speaker wires | Connect the amplifier to the subwoofer. |
